DDR爱好者之家 Design By 杰米
本教程主要使用Photoshop制作超酷的树木组成的艺术字教程,教程主要使用素材和图层样式来完成,喜欢的朋友让我们一起来学习吧。
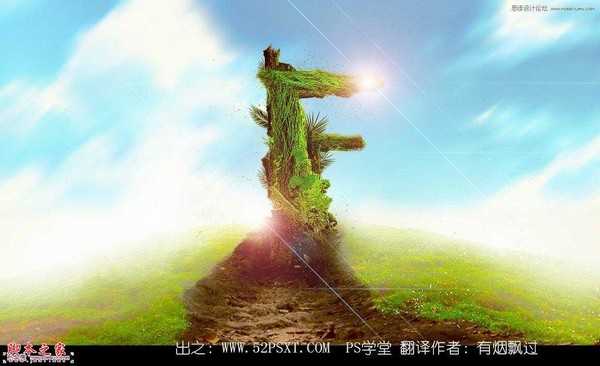
先看看效果图
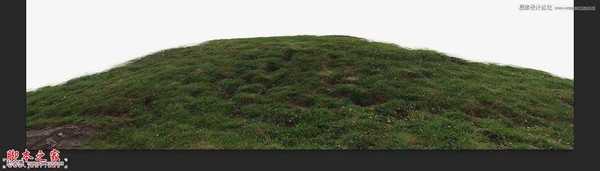
1.新建1180*680px大小的文档,我们打开山坡的图片,用快速选择工具选择山坡的上半部分,如下:

2.复制选区内的山坡,拉入我们新建的文档中,调整大小使它的宽度与画布的宽度对齐。
3.用柔软的橡皮擦擦拭边缘部分,有点像雾的感觉,效果如下:

4.添加调整图层--色相/饱和度,色相-1,饱和度+76:

会得到效果大致如下:

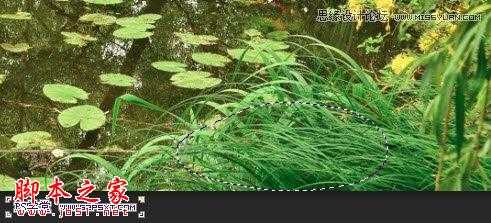
5.我们下面来做草地上的泥路,打开素材2,选择下面的部分
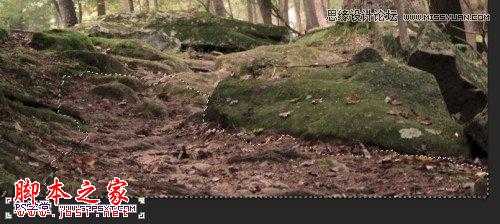
6.同样复制拉入画布中,ctrl+T变换,右击扭曲,使它和草地部分融合在一起

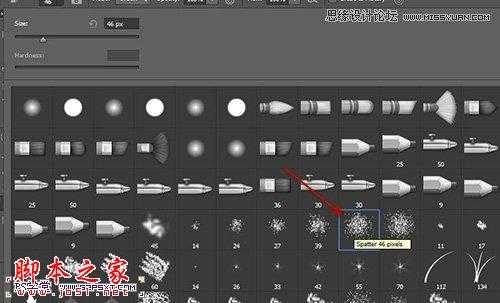
7.我们选择橡皮擦工具,选择如下,轻柔的擦拭泥路的边缘部分:

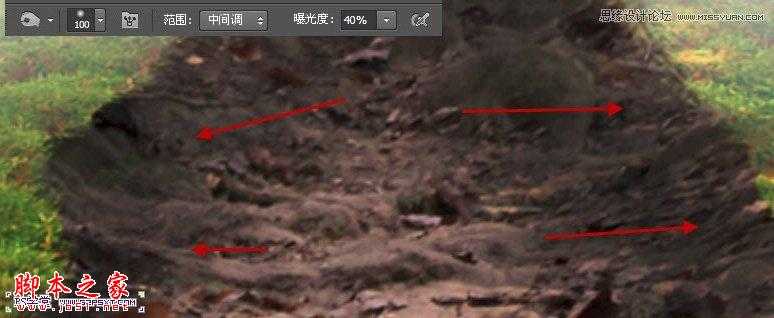
8.使用加深工具,大小100px,强度40%,擦拭泥路的两边内侧部分,加深泥路的深度和层次感
9.拉入天空素材到画布中,执行模糊--动感模糊,角度45度,距离31px

10.用柔光的橡皮擦擦拭天空的下半部分,做出效果大致如下:

本帖隐藏的内容11.打开素材3,抠出如下部分,来做字体的枝干部分。

12.将抠好的树干拉入画布中,摆放好位置,我们用椭圆选区工具,在树干底部拉一个椭圆,羽化40px左右。

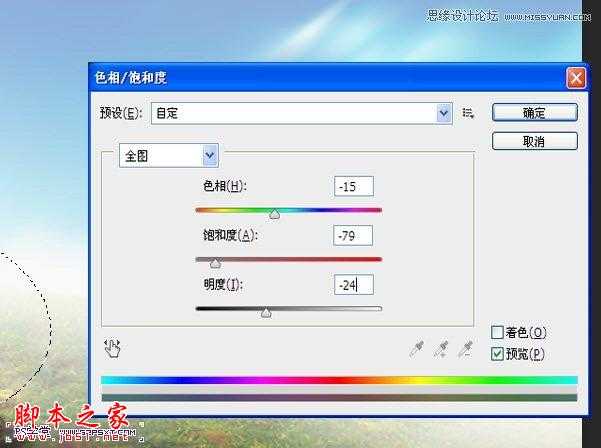
13.进行调整--色相/饱和度,色相-15,饱和度-79,明度-24
14.在树干图层下新建图层,用黑色柔软画笔在树干底部画一点阴影效果

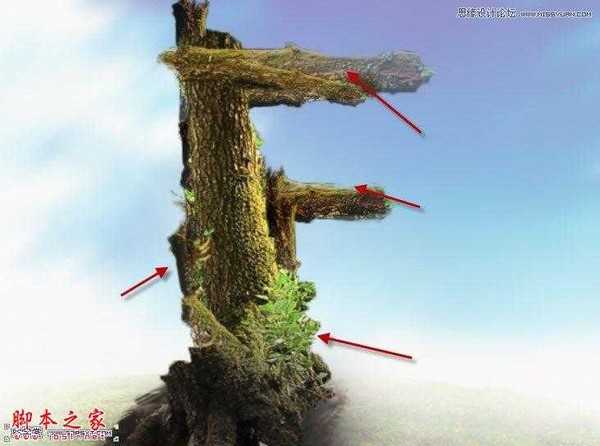
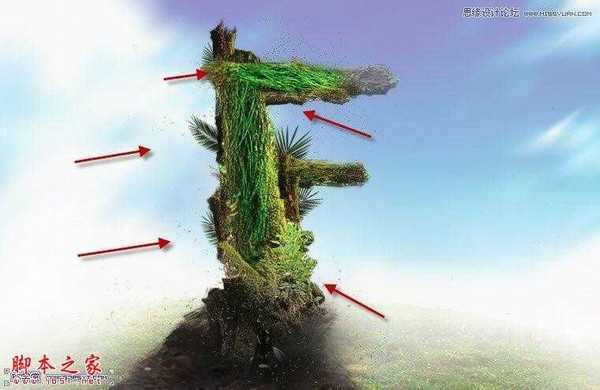
15.我们再次打开素材3,同样的抠出一些树枝部分,拉入画布中摆出效果,大致如下:
16.打开树叶素材,拉入画布中摆放好位置,多复制几次,摆出效果大致如下:

17.打开素材4,抠出如下部分
18.拉入画布中,摆放好位置,改模式为“强光”,多复制几次摆放处如下效果:

19.到这我们的字体差不多已经完成了。我们可以用画笔,在字体周边涂抹一点绿色的点点,做出动感的效果
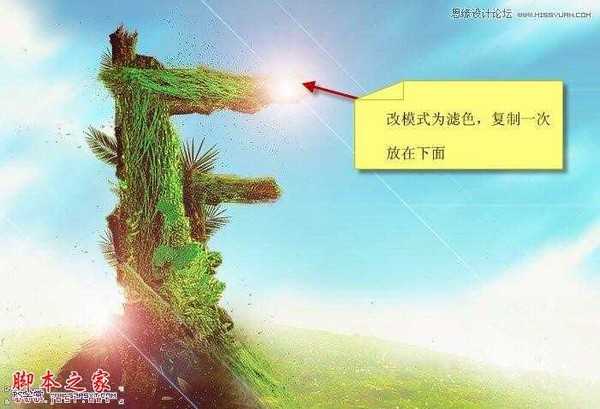
20.最后我们拉入高光素材,模式滤色,放在字体上方。复制一次摆放在下面,我们的字体也就完成了

先看看效果图
1.新建1180*680px大小的文档,我们打开山坡的图片,用快速选择工具选择山坡的上半部分,如下:
2.复制选区内的山坡,拉入我们新建的文档中,调整大小使它的宽度与画布的宽度对齐。
3.用柔软的橡皮擦擦拭边缘部分,有点像雾的感觉,效果如下:
4.添加调整图层--色相/饱和度,色相-1,饱和度+76:
会得到效果大致如下:
5.我们下面来做草地上的泥路,打开素材2,选择下面的部分
6.同样复制拉入画布中,ctrl+T变换,右击扭曲,使它和草地部分融合在一起
7.我们选择橡皮擦工具,选择如下,轻柔的擦拭泥路的边缘部分:
8.使用加深工具,大小100px,强度40%,擦拭泥路的两边内侧部分,加深泥路的深度和层次感
9.拉入天空素材到画布中,执行模糊--动感模糊,角度45度,距离31px
10.用柔光的橡皮擦擦拭天空的下半部分,做出效果大致如下:
本帖隐藏的内容11.打开素材3,抠出如下部分,来做字体的枝干部分。
12.将抠好的树干拉入画布中,摆放好位置,我们用椭圆选区工具,在树干底部拉一个椭圆,羽化40px左右。
13.进行调整--色相/饱和度,色相-15,饱和度-79,明度-24
14.在树干图层下新建图层,用黑色柔软画笔在树干底部画一点阴影效果
15.我们再次打开素材3,同样的抠出一些树枝部分,拉入画布中摆出效果,大致如下:
16.打开树叶素材,拉入画布中摆放好位置,多复制几次,摆出效果大致如下:
17.打开素材4,抠出如下部分
18.拉入画布中,摆放好位置,改模式为“强光”,多复制几次摆放处如下效果:
19.到这我们的字体差不多已经完成了。我们可以用画笔,在字体周边涂抹一点绿色的点点,做出动感的效果
20.最后我们拉入高光素材,模式滤色,放在字体上方。复制一次摆放在下面,我们的字体也就完成了
DDR爱好者之家 Design By 杰米
广告合作:本站广告合作请联系QQ:858582 申请时备注:广告合作(否则不回)
免责声明:本站资源来自互联网收集,仅供用于学习和交流,请遵循相关法律法规,本站一切资源不代表本站立场,如有侵权、后门、不妥请联系本站删除!
免责声明:本站资源来自互联网收集,仅供用于学习和交流,请遵循相关法律法规,本站一切资源不代表本站立场,如有侵权、后门、不妥请联系本站删除!
DDR爱好者之家 Design By 杰米
暂无评论...
更新日志
2025年02月21日
2025年02月21日
- 小骆驼-《草原狼2(蓝光CD)》[原抓WAV+CUE]
- 群星《欢迎来到我身边 电影原声专辑》[320K/MP3][105.02MB]
- 群星《欢迎来到我身边 电影原声专辑》[FLAC/分轨][480.9MB]
- 雷婷《梦里蓝天HQⅡ》 2023头版限量编号低速原抓[WAV+CUE][463M]
- 群星《2024好听新歌42》AI调整音效【WAV分轨】
- 王思雨-《思念陪着鸿雁飞》WAV
- 王思雨《喜马拉雅HQ》头版限量编号[WAV+CUE]
- 李健《无时无刻》[WAV+CUE][590M]
- 陈奕迅《酝酿》[WAV分轨][502M]
- 卓依婷《化蝶》2CD[WAV+CUE][1.1G]
- 群星《吉他王(黑胶CD)》[WAV+CUE]
- 齐秦《穿乐(穿越)》[WAV+CUE]
- 发烧珍品《数位CD音响测试-动向效果(九)》【WAV+CUE】
- 邝美云《邝美云精装歌集》[DSF][1.6G]
- 吕方《爱一回伤一回》[WAV+CUE][454M]