DDR爱好者之家 Design By 杰米
当原画素材分辨率或者精度不够,不能展示人物细节,何不尝试利用打造氛围的方法来提高主视觉的质量。下面的案例中,主要利用照片拼接的方法来,来配合人物原画打造氛围。
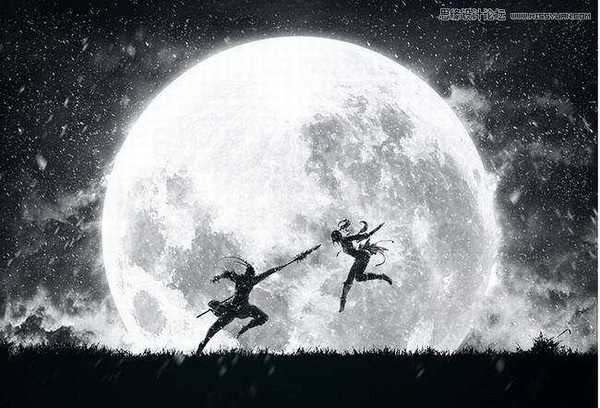
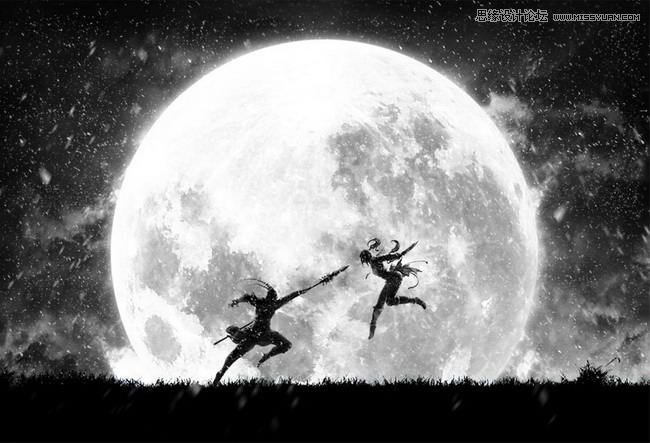
最终效果
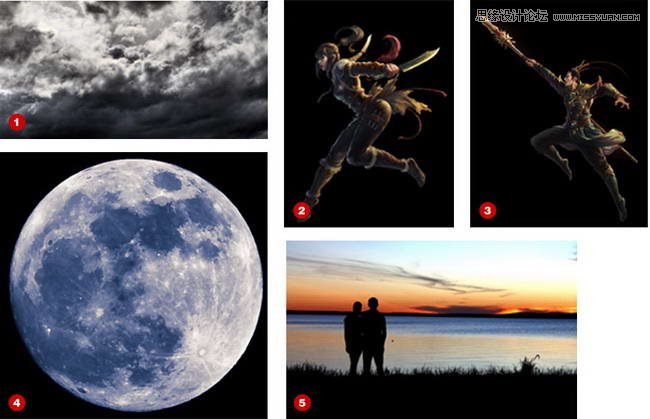
图1-云,图2、3-人物原画,图4-月亮,图5-剪影。
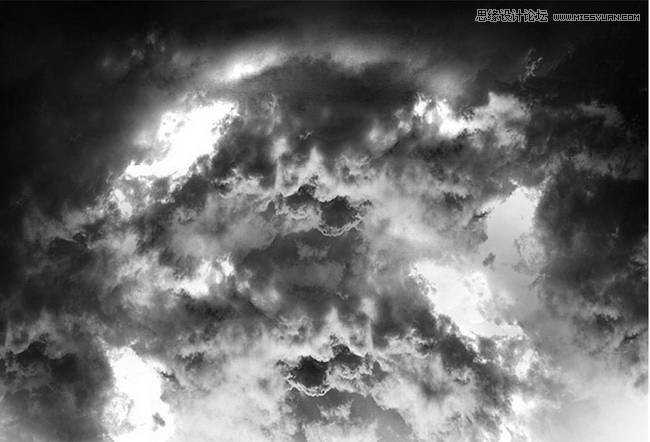
截取图1局部,放置画面中,将四周明暗度加深。
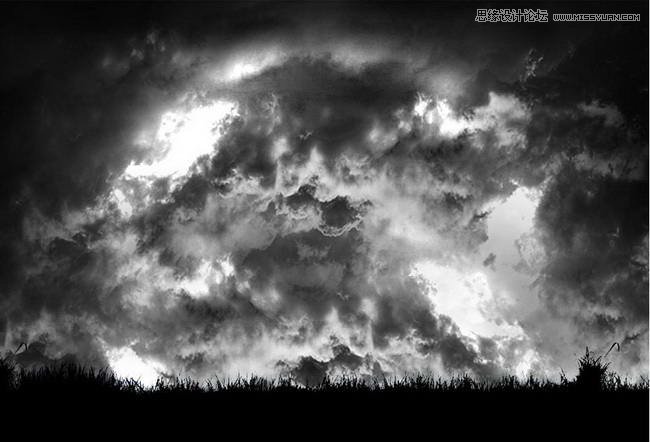
用魔棒工具提取图5的草地剪影,放置画面中。
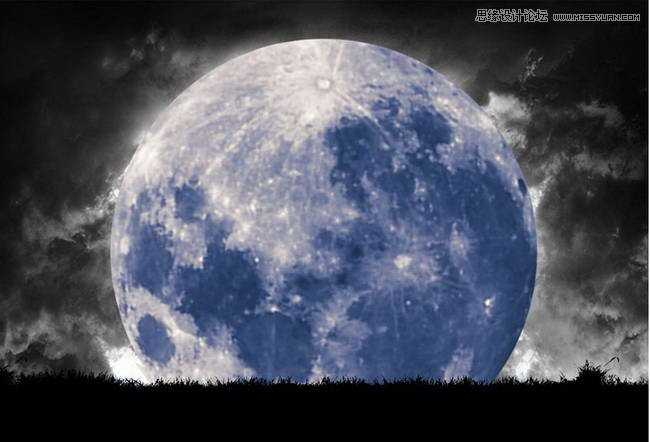
将图片4中的月亮抠出,放置画面中。
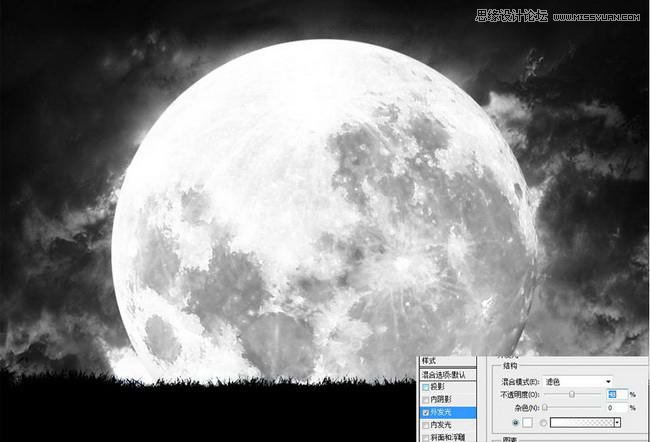
去掉原有颜色,提高亮度,增加外发光效果。
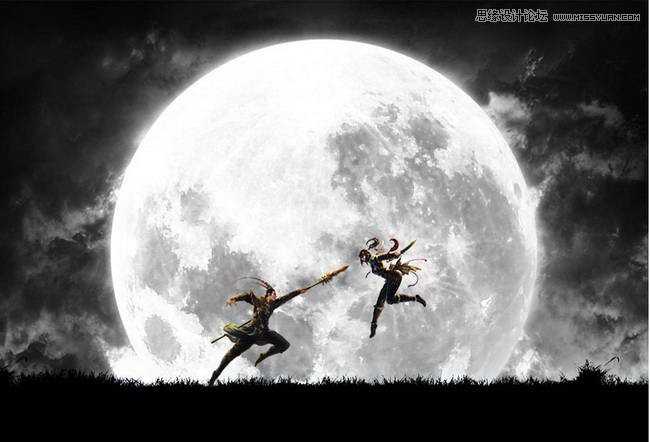
将图2、图3的人物素材调整合适的位置,放置场景中。
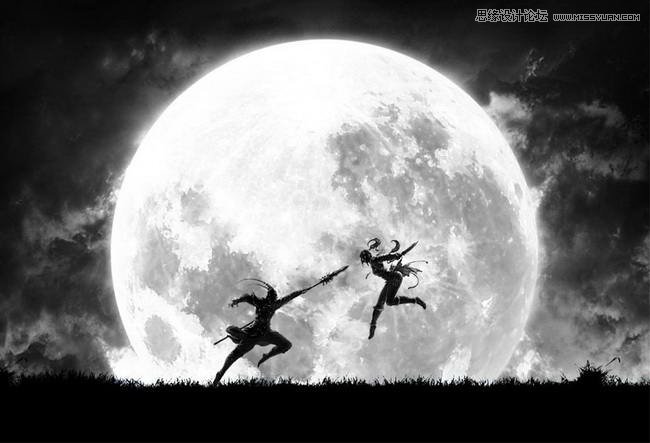
去掉人物颜色,使用加深工具,中间亮度变暗,保留人物外轮廓光。
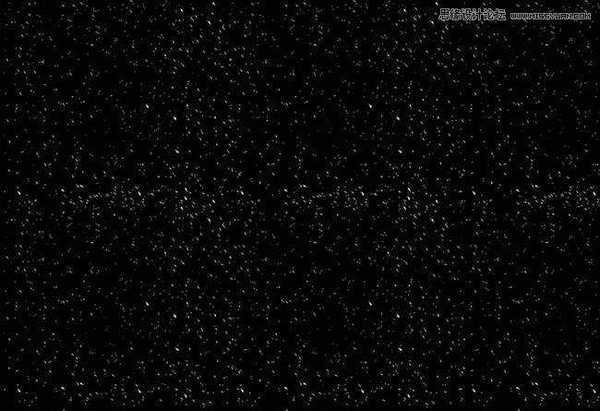
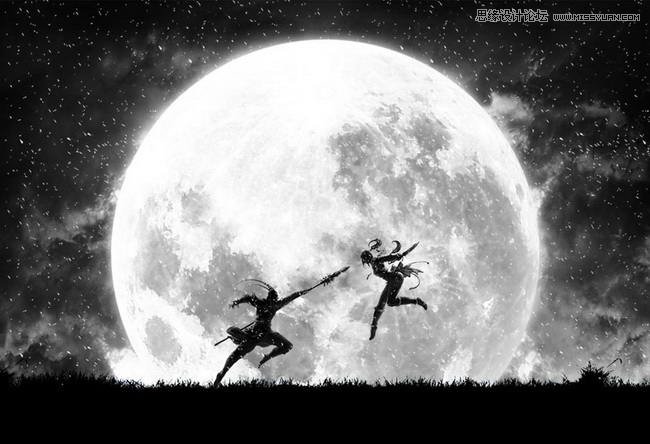
使用笔刷绘制一些不规则的点状,来制作雪花效果。复制粘贴,铺满整个画面。
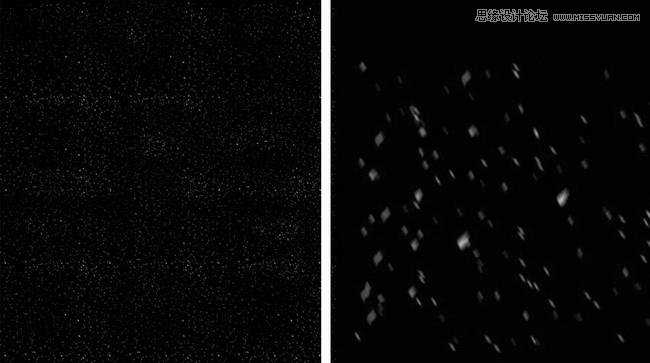
复制2个雪花图层,将其中一个图层缩小作为远景雪花,另一个放大截取局部动感模糊处理,作为近景雪花。
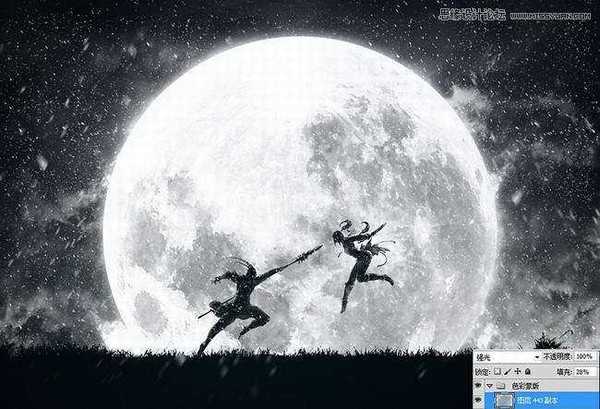
新建一个图层,填充低饱和度蓝色,强光处理。
小结:只要前期的构思工作做充分,整个拼接和修图的方法非常简单,只要多练习就可以了。希望对大家能有帮助。

最终效果

图1-云,图2、3-人物原画,图4-月亮,图5-剪影。

截取图1局部,放置画面中,将四周明暗度加深。

用魔棒工具提取图5的草地剪影,放置画面中。

将图片4中的月亮抠出,放置画面中。

去掉原有颜色,提高亮度,增加外发光效果。

将图2、图3的人物素材调整合适的位置,放置场景中。

去掉人物颜色,使用加深工具,中间亮度变暗,保留人物外轮廓光。


使用笔刷绘制一些不规则的点状,来制作雪花效果。复制粘贴,铺满整个画面。


复制2个雪花图层,将其中一个图层缩小作为远景雪花,另一个放大截取局部动感模糊处理,作为近景雪花。

新建一个图层,填充低饱和度蓝色,强光处理。
小结:只要前期的构思工作做充分,整个拼接和修图的方法非常简单,只要多练习就可以了。希望对大家能有帮助。
DDR爱好者之家 Design By 杰米
广告合作:本站广告合作请联系QQ:858582 申请时备注:广告合作(否则不回)
免责声明:本站资源来自互联网收集,仅供用于学习和交流,请遵循相关法律法规,本站一切资源不代表本站立场,如有侵权、后门、不妥请联系本站删除!
免责声明:本站资源来自互联网收集,仅供用于学习和交流,请遵循相关法律法规,本站一切资源不代表本站立场,如有侵权、后门、不妥请联系本站删除!
DDR爱好者之家 Design By 杰米
暂无评论...
更新日志
2025年02月21日
2025年02月21日
- 小骆驼-《草原狼2(蓝光CD)》[原抓WAV+CUE]
- 群星《欢迎来到我身边 电影原声专辑》[320K/MP3][105.02MB]
- 群星《欢迎来到我身边 电影原声专辑》[FLAC/分轨][480.9MB]
- 雷婷《梦里蓝天HQⅡ》 2023头版限量编号低速原抓[WAV+CUE][463M]
- 群星《2024好听新歌42》AI调整音效【WAV分轨】
- 王思雨-《思念陪着鸿雁飞》WAV
- 王思雨《喜马拉雅HQ》头版限量编号[WAV+CUE]
- 李健《无时无刻》[WAV+CUE][590M]
- 陈奕迅《酝酿》[WAV分轨][502M]
- 卓依婷《化蝶》2CD[WAV+CUE][1.1G]
- 群星《吉他王(黑胶CD)》[WAV+CUE]
- 齐秦《穿乐(穿越)》[WAV+CUE]
- 发烧珍品《数位CD音响测试-动向效果(九)》【WAV+CUE】
- 邝美云《邝美云精装歌集》[DSF][1.6G]
- 吕方《爱一回伤一回》[WAV+CUE][454M]
